Time-lapse is a fascinating visual technique that records a scene or object in a slow state-of change and speeds up the recorded footage. Time-lapse allows you to make breathtaking and creative visuals using nothing but your camera and video software. With our guide, you will have a basic understanding of what time-lapse is and will be able to start making your very first time-lapse video!
The common way to do this is to hold the camera in one position facing something that changes slowly over time and start taking a series of photos or a low frame rate video footage for hours or even longer periods of time, depending on the desired speed and period of time desired.The common way to create time-lapses this is to hold the camera in one position facing something that changes slowly over time and start taking a series of photos or a low frame rate video footage for hours or even longer periods of time, depending on the desired speed and period of time desired. A many hours worth of footage is then compressed into a video with a few minutes of playtime, which is called a time lapse. The process of making a time-lapse consists of several steps.
Figuring out the subject:
Time-lapse projects can have a variety of creative themes. The most commonly used among them are:
- The growing, blossoming and rotting of plant-life.
- Change of states of liquids (freezing, melting, vaporizing and condensing)
- Changes between weather conditions throughout the day
- The movement of stars
- Construction work
- Movement of the sun/moon during the day and night
Finding the right interval:
When making a time-lapse, it is important to keep the interval (pause) between the photos in mind.
Shorter intervals will make the transition very smooth, but will make it more time and space consuming when putting the time-lapse together, while also making the movement very rough if doing a time-lapse of a long period of time. Usually, shorter intervals are used when portraying with a fast rate of change, such as busy streets, movements of clouds or melting of ice.
Longer intervals might look awkward when working with shorter-spanning videos, but it saves a lot of time and resources, when working with time-lapses of slow processes, such as growing of plants or long construction work, while not losing the visual appeal. The pause between the photos heavily depends on the nature of the footage used and can be from 1 hour per photo to days.
Picking the equipment:
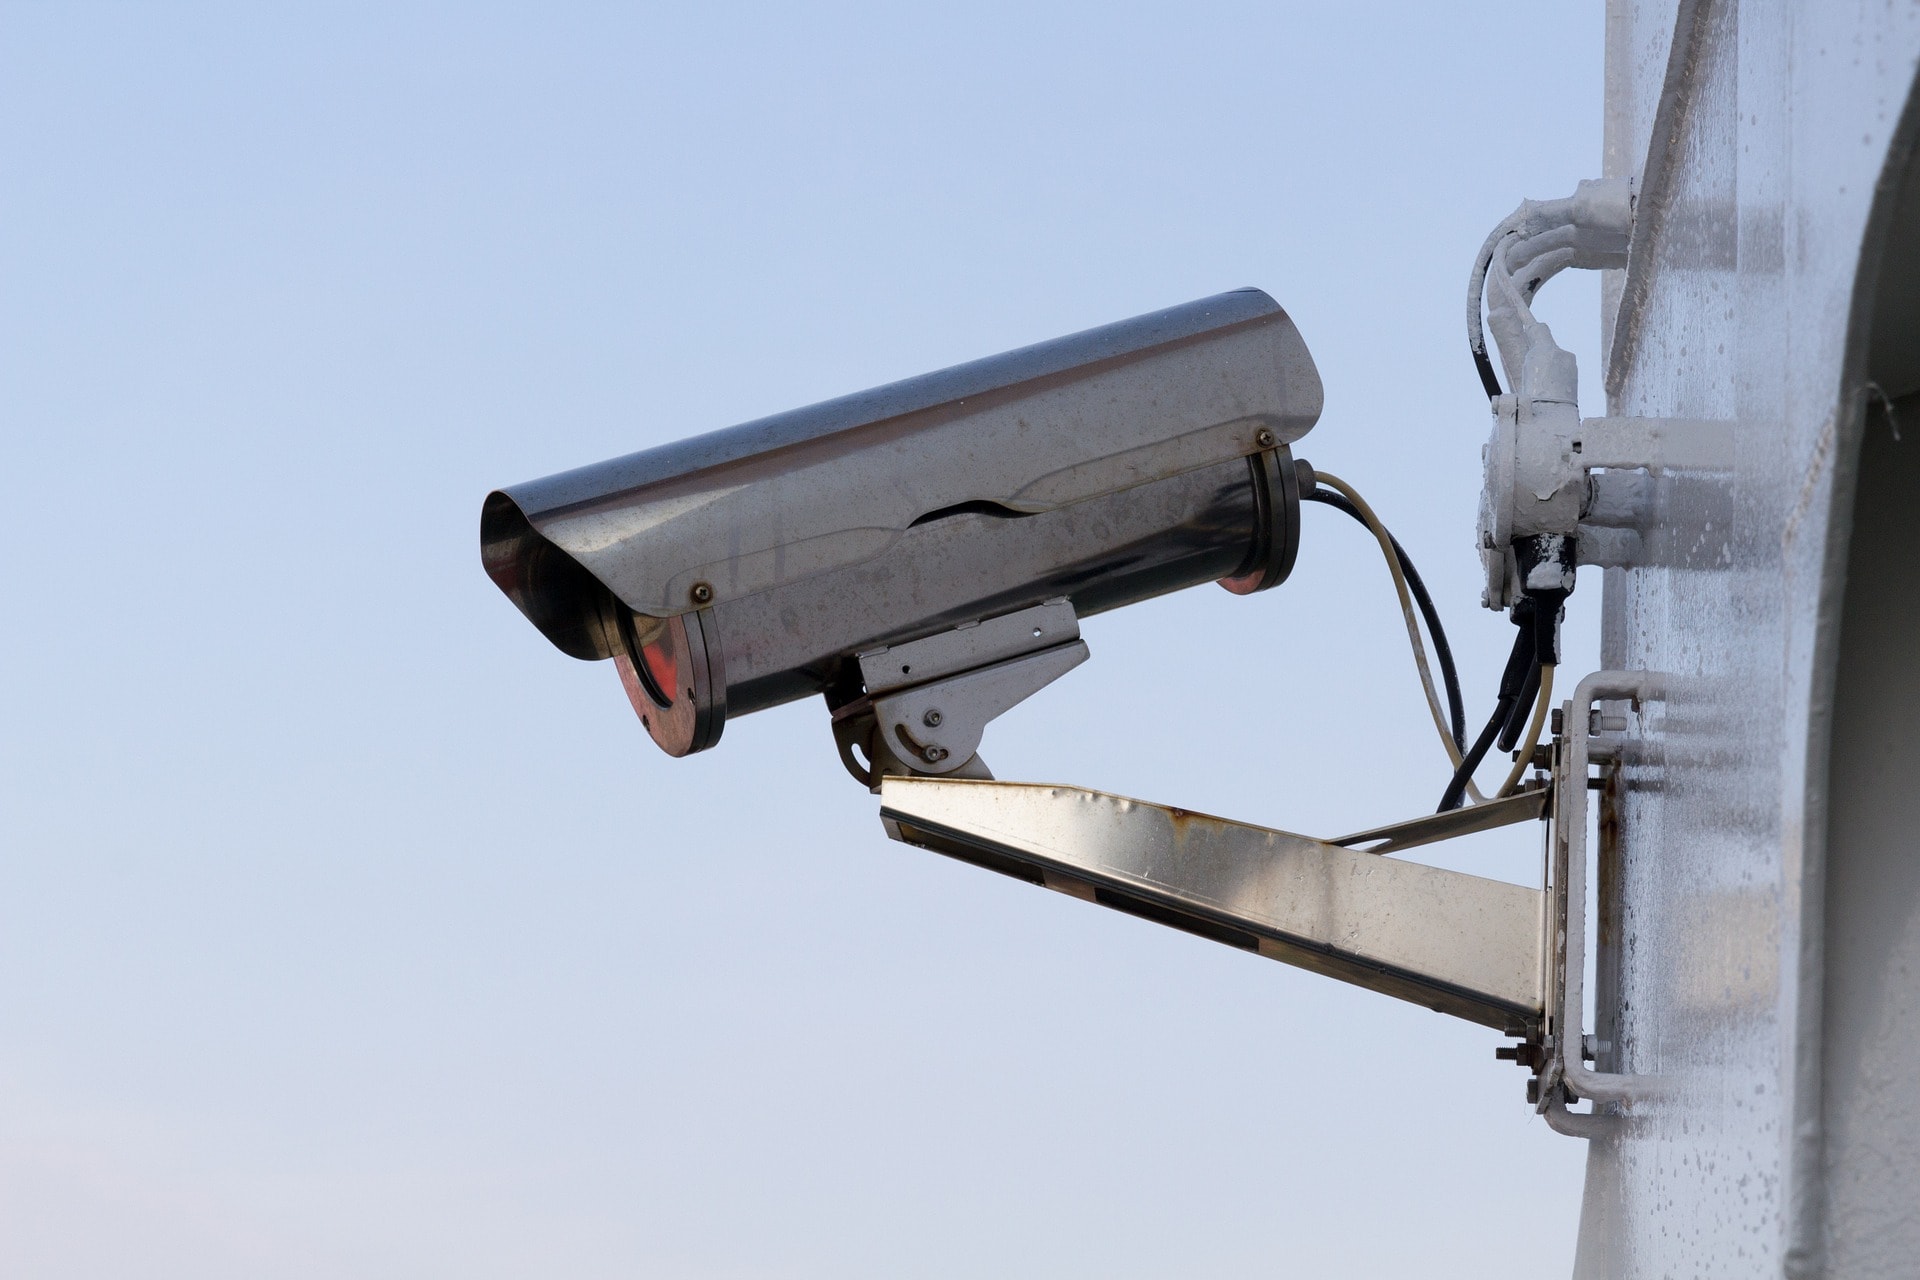
Next step to making a time-lapse is to pick the proper equipment. While you can use basically any kind of camera, professionals usually use a dSLR (Digital Single-lens Reflex) because of a higher output quality and control. That being said, the time-lapses can be made with ordinary point-to-shoot cameras, smartphones or even webcams. A carefully placed and connected webcam can provide interesting options for control and automatization of the process of making the time-lapse, allowing you to make time lapses in shorter amount of time and from a remote distance. Some cameras come with a time-lapse function, so always check the cameras’ instructions before setting up the time-lapse filming.
In addition to camera, other essential equipment is required:
- Tripod or gorilla-pod. It is important to make sure your camera remains stabilized and stabilized at all time during the filming. While it is possible to do it without a tripod, but using a tripod is by far the most convenient and reliable solution.
- Intervalometer (remote control). Intervalometer is a time-controlling device used with cameras to automate the stutter button to take pictures and screenshots in intervals you needs to the time-lapse. This saves a lot of trouble, because otherwise you will have to take the pictures manually.
- Alternatively, you can use special software to control the camera shutter function from a distance. This is especially convenient when using webcams, because you can take pictures for the time-lapse for a remote distance, without the need to physically interfere with camera work. If you are doing a continuous live stream from the webcam, using software is the best solution. A good example of intervalometer software is Pclix. There are also options for apps if you are using a smartphone for your time-lapse, such as iTimeLapse or GorillaCam.
Avoiding mistakes when shooting:
We always make mistakes and it is quite common to make a mistake during the first time-lapse filming. Although this is not something to worry about, necessary precautions should be made to minimize the risk of failure when doing a time-lapse
- Do test shots before starting shooting, to ensure you have the right angle and camera settings
- Take photos in the most optimum JPG quality to avoid running out of space
- Always shoot in manual mode with manual shutter speed, aperture, exposure and white balance to avoid the camera adjusting itself automatically adjusting itself if the environment changes
- Always have extra batteries and memory cards to ensure the filming will be uninterrupted by technical issues. If you are using other sources of electricity, make sure you have a stable source of power. If you are making a time-lapse from a remote location or from a stream, also make sure you have a stable internet connection. If you the footage is being saved to a hard drive, also make sure you have sufficient space.
- Carefully choose a space where the camera will be unmoved or knocked away, but that will ensure the best view possible
- Of course, always keep an eye on the camera. Even if you’re filming from a distant location, be sure to check on the view of the camera from your monitor.
Editing the time-lapse:
After the shooting is done and you’re left with hundreds if not thousands of pictures, you can start assembling the time-lapse. While that process can sound tedious, there is software that can help you assemble the pictures and make small adjustments if needed. Adobe Photoshop and Lightroom are classic options for picture tweaking, but any similar software will do.
After all that is done, there comes the most exciting step: combining all the pictures into a time-lapse. As before, there are numerous options for software to assist you in making a time-lapse. The simpler options for merging the pictures into a time-lapse are Apple Quicktime Pro 7 (Win/Mac) or Time-lapse Assembler (Mac), which can automatically set your pictures on a time scale with the same intervals and make a video. That being said, time-lapses could be made with most of video editing software available of the market.
Have a look at the time-lapse we made, using the recorded live footage from one of our cameras!

Leave a Reply
You must be logged in to post a comment.